Resources
Administry allows your organization to upload documents, pictures, spreadsheets and other files for your caseworkers. This is a great way to ensure everyone has access to resource lists, organizational policies, intake forms, and other documents. These resources are accessible to all of your users, regardless of access level.
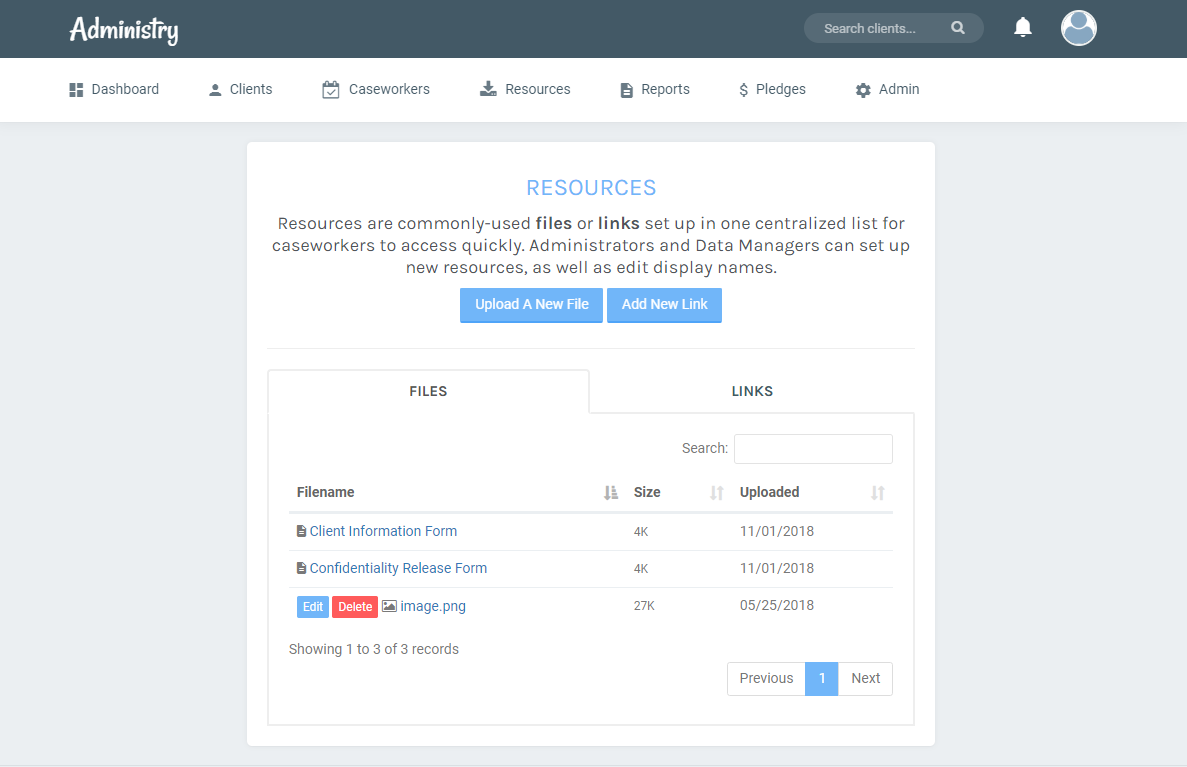
Add a Resource
- Log in as an administrator and click on Resources.
- On the right hand of the screen, click on the box with the text “To upload new resources, or drag and drop your files here”. After the file selection dialogue box opens, select the file to upload. You can also drag a file from your computer and drop it into this box.
- If the file upload is successful, it should appear in the list of Downloadable Resources
- To change the name of the file, click on the green edit button. Use descriptive file names so your users can find what they need!
- To delete the file, click on the red X. Caution: You cannot undo a file deletion!
Note
Only Administrators can add, edit, and delete resources.
Allowable File Types
Administry only allows certain types of files to be uploaded. Make sure the file extension matches the type of file you upload!
| Extension | File Type |
|---|---|
| PDF document | |
| .jpg or .jpeg | JPEG image |
| .png | PNG image |
| .doc or .docx | Microsoft Word document |
| .xls or .xlsx | Microsoft Excel spreadsheet |
| .txt | Plain Text document |
| .rtf | Rich-text document |
Download a Resource

- Click on Resources.
- In the list of Downloadable Resources, click on the name of the file. Download should begin immediately. Depending on your browser, you should see a Save As dialogue box, or you should see the file at the bottom of your screen. You can also check your browser’s Download tab (Ctrl+J in Chrome, Firefox, and Internet Explorer) to view recent downloads.
- This list also appears on each user’s homepage.