Viewing Clients
Client Dashboard
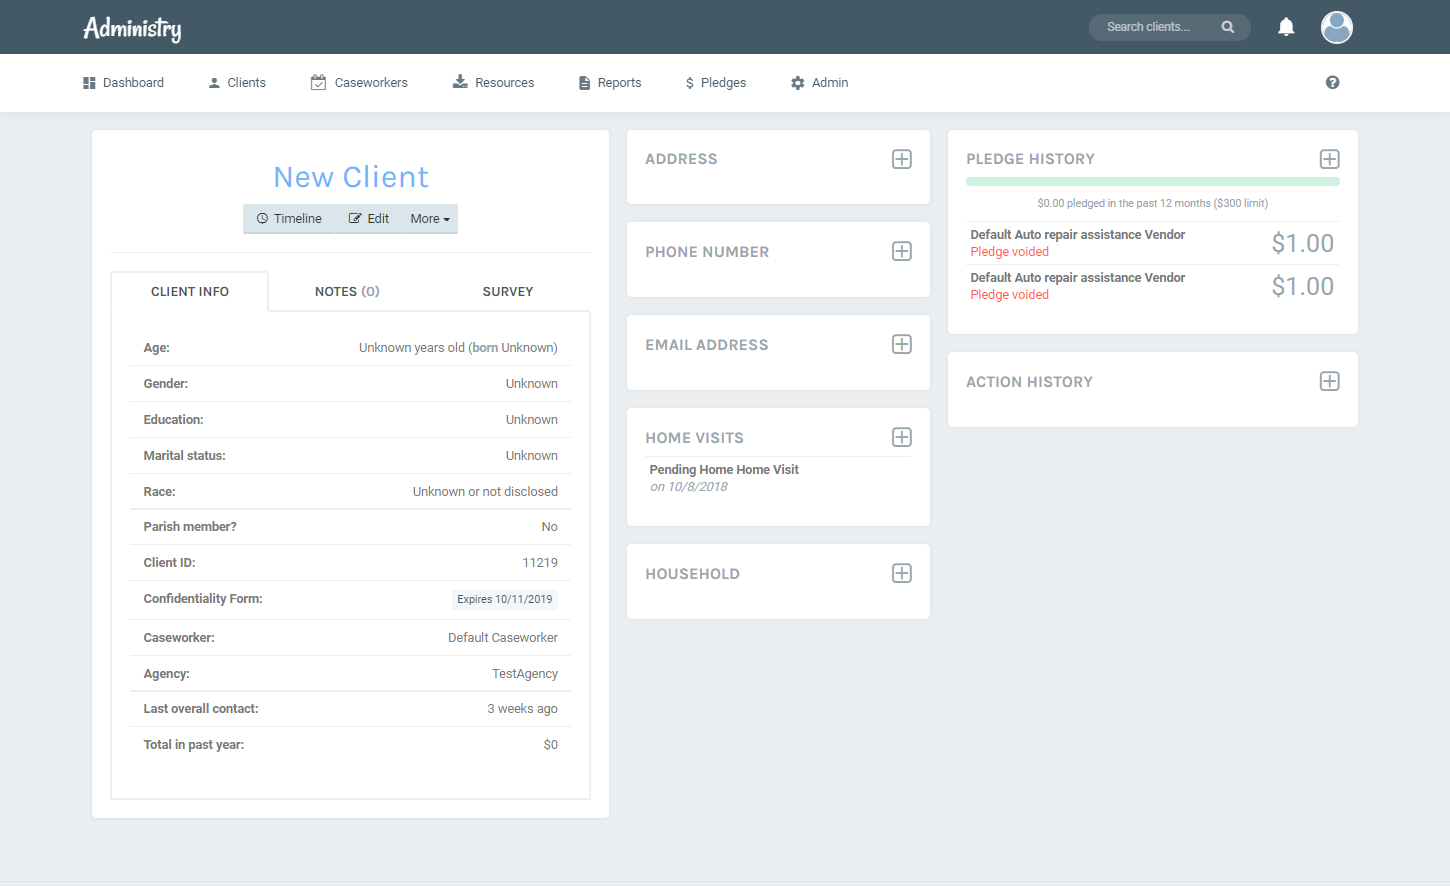
The Client dashboard is one of the most powerful features of Administry. It shows you an overview of a client’s entire history with your organization.
Load a client by searching for a client. The following information is displayed:
Client Name: Displays the full name of the current client
More Actions Shows more options for this client:
- Assign a Follow-up Task: This tool allows you to assign simple client tasks to other caseworkers.
- Documents: Launches the Client Documents tool
- Add a note: Creates a new note for this client
- Add a Flag: Add client flags
- Print Client Info: Displays client information in a printer-friendly format
- SSVerify: Launches the SSVerify tool
- Merge Another Client: (Administrators and Data Managers only) Merges another client profile into this client
- Permanently Delete Client: (Administrators only) Delete client, including all associated information
- Search for another client: Opens the search screen
Demographic information: This section displays demographic information about the client. This information can be changed by clicking on the More Actions dropdown
Notes: Summaries of all client notes are listed here. The full note can be viewed by clicking on the summary. Caseworkers can read all notes on a client, and can edit their own notes. Administrators can edit any note.

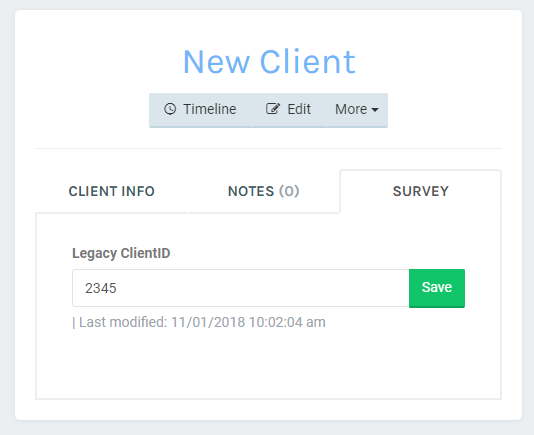
Survey: Custom fields in Administry are called Survey Questions. Administrators may create new survey questions; all currently-active questions appear here for each client. To save a new response, simply make your changes and click ‘Save’. Note: Adding a new response will overwrite any previous response. The Last Modified date field for each question will also be updated when adding a new response. You can search for specific survey question responses from the Advanced Search Page, or request a custom report for other data related to survey questions.
Address: Displays the primary address for the client. The primary address is in bold. Click on an address to edit or delete. Add a new address by clicking on the menu icon at the top of this box.
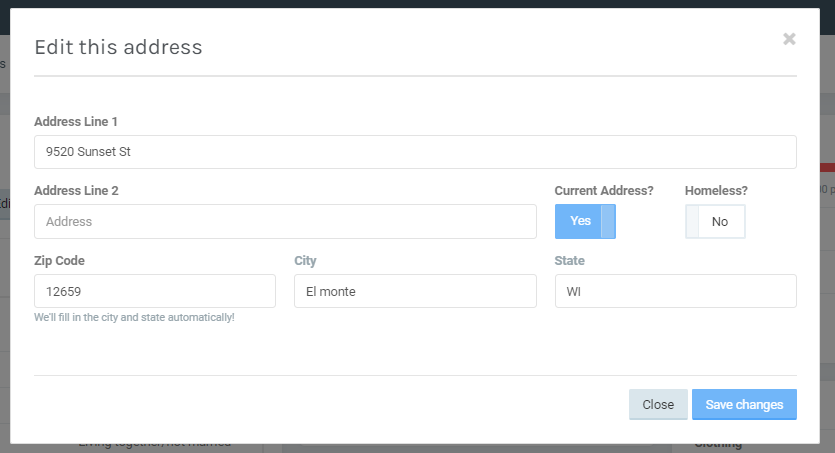
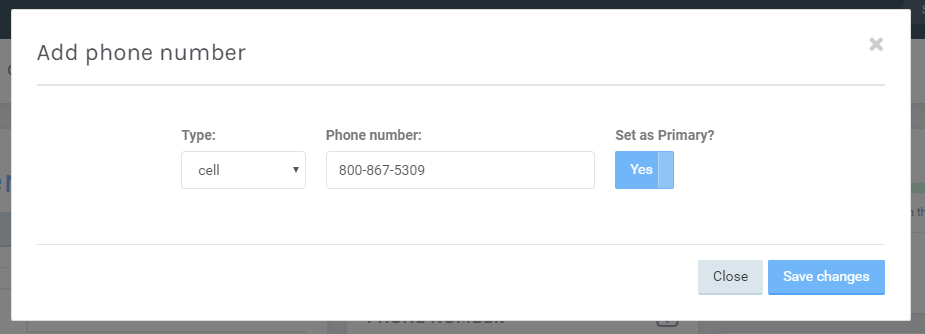
Phone Number: Displays phone numbers for the client. The primary phone number is in bold. Click on a phone number to edit or delete. Add a new phone number by clicking on the menu icon at the top of this box. When adding or editing addresses, Administry will automatically fill in the city and state based on the zip code (you can edit the city and state if necessary).
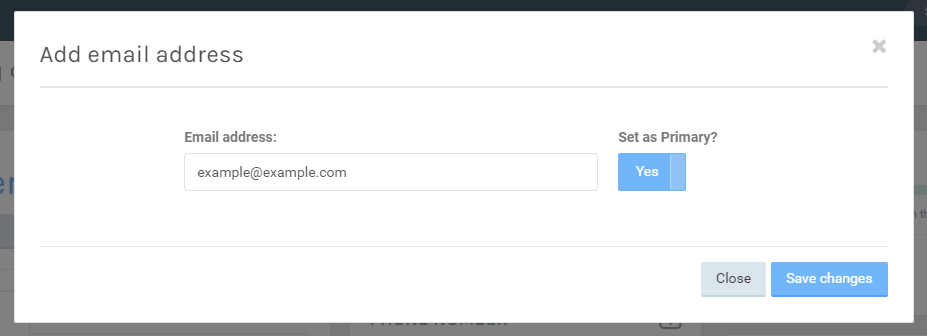
Email Address: Displays the primary email address for the client. The primary email address is in bold. Click on an email address to edit or delete. Add a new email address by clicking on the menu icon at the top of this box.
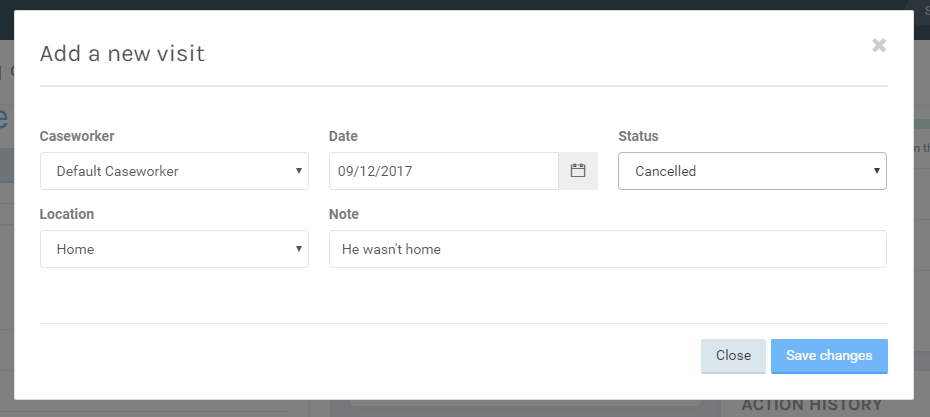
Visits: Displays history of visits for this client. Click on an entry to edit or delete. Add a new home visit by clicking on the menu icon at the top of this box. The location for a visit defaults to “Home”, but other locations are possible.
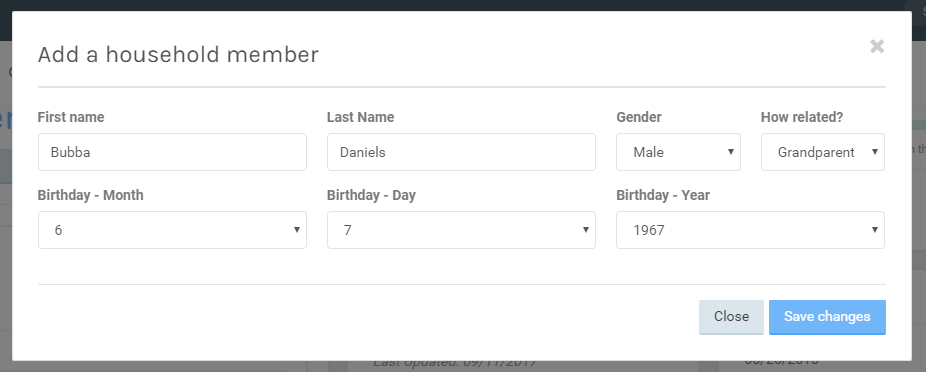
Household: Lists other people who live in the household. Click on a household member to edit or remove them. Add a new household member by clicking on the menu icon at the top of this box.
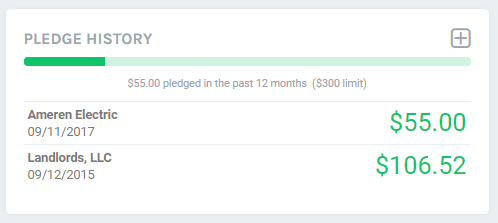
Pledge History: This box lists a summary of pledges made towards a client. The top bar indicates how much has been pledged towards this client in the past 12 months. The bar turns red when the pledge limit is matched or exceeded. Pledges are listed in chronological order, beginning with the most recent. Click on a pledge to view more information about a pledge, including payments made towards this pledge. See Add a New Pledge.
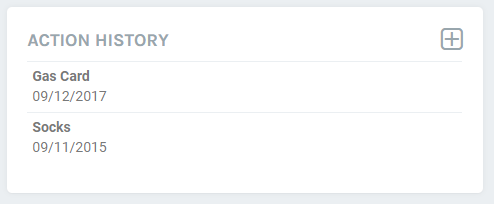
Action History: This box lists all actions taken on behalf of this client. An Action includes any non-cash assistance, including food, gas cards, and referrals to other agencies. Delete an action by clicking on it. See Add a New Action.
Client Timeline
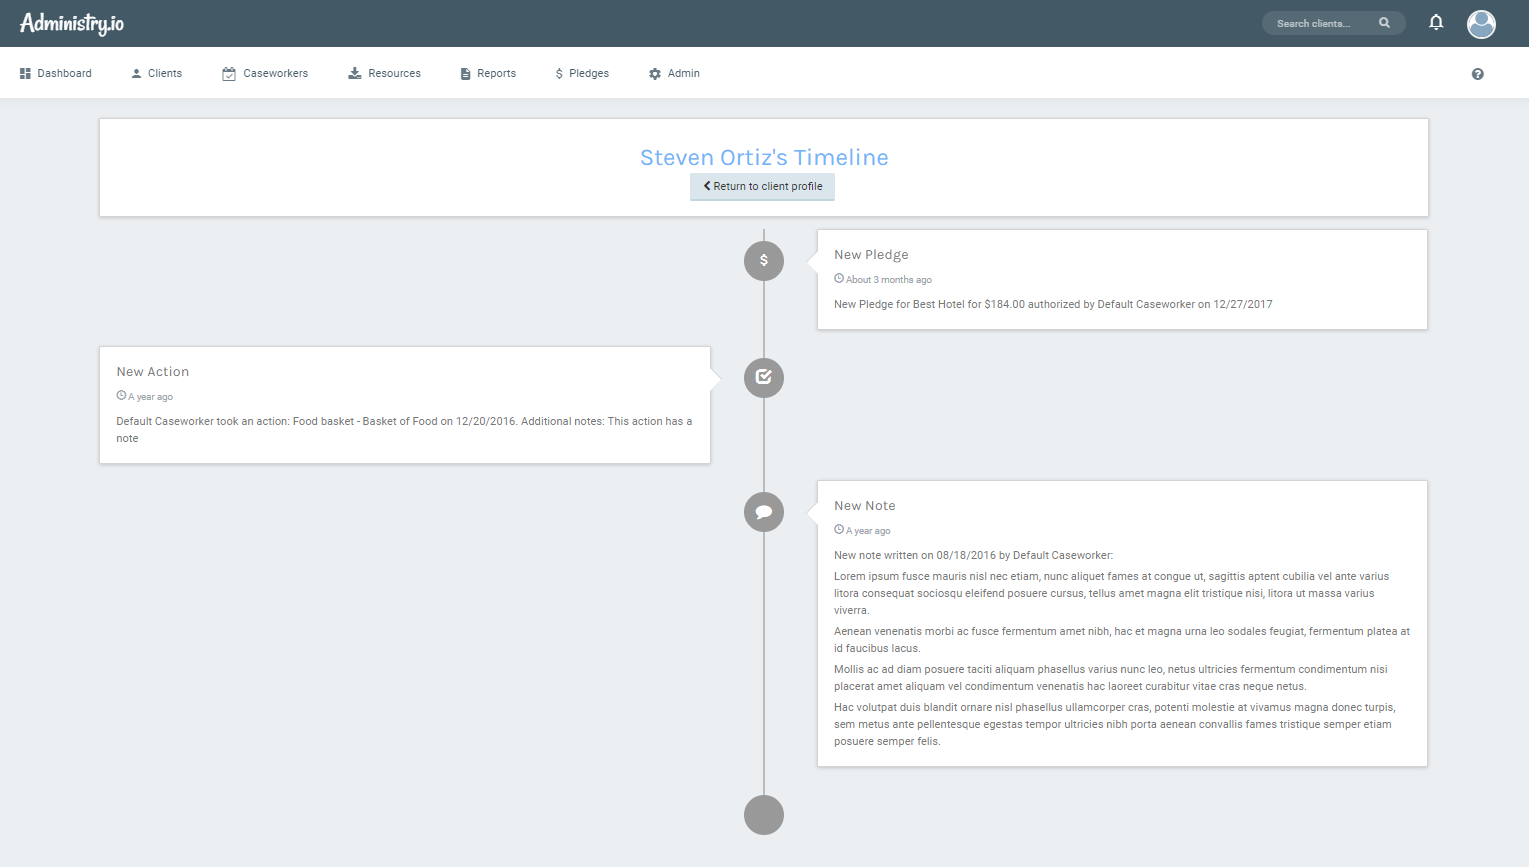
The Timeline button on the Client Dashboard displays client history in a timeline format, beginning with the most recent events. The time shows important events in the client’s history, such as pledges, notes, actions, and flags. Click on ‘Return to client view’ to exit the timeline.
SSVerify
The SSVerify tool can help agencies verify the identities of clients to ensure funds are being used appropriately. When clients request assistance, caseworkers can use SSVerify to save a securely hashed copy of the client’s social security number. Then, caseworkers can verify that clients are using the same social security each time they return for assistance.
SSVerify is safe and secure - Administry never stores social security numbers, and there is absolutely no way to extract a social security number from SSVerify. Instead, this tool compares randomly and irreversibly hashed translations of social security numbers to ensure your clients’ personal information is completely safe.
For privacy reasons, SSVerify does not search or communicate with any external services or databases to verify social security numbers. SSVerify can only confirm that a client is using the same social security number
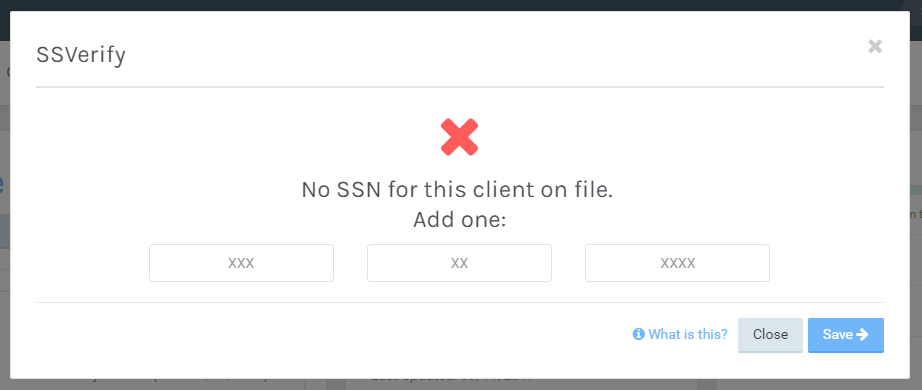
To Add a SSN to SSVerify:
- Log into Administry and search for the client.
- Click on ‘SSVerify’ under the More dropdown menu below the client’s name.
- If a social security number has not been saved for this client, the tool prompts the caseworker to enter one.
- Click ‘Save’ to save, or ‘Cancel’ to cancel.
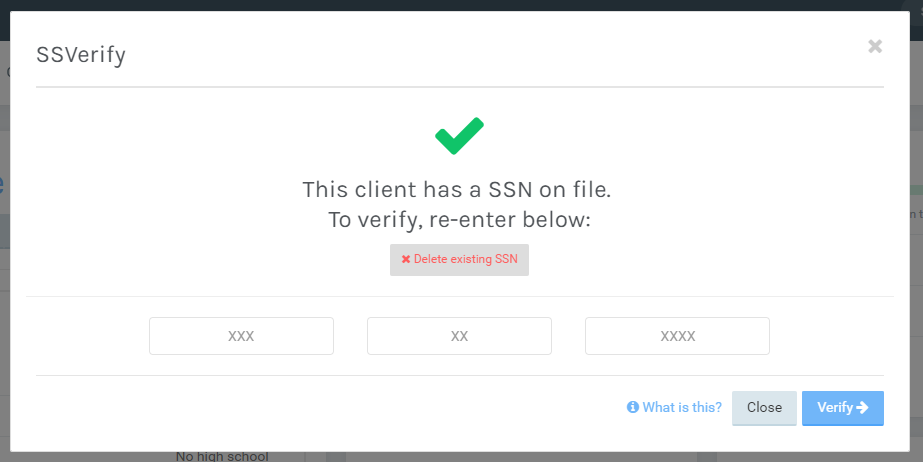
To Verify a SSN with SSVerify:
- Log into Administry and search for the client.
- Click on ‘SSVerify’ under the More dropdown menu below the client’s name.
- If a social security number has already been saved for this client, the tool prompts the caseworker to re-enter the number.
- Click ‘Verify’ to compare the number with the number on file. A popup window displays whether or not the numbers match.
- Caseworkers may also remove existing social security numbers by clicking “Delete existing SSN”.
Note
Administry does not store social security numbers. There is no way to search by social security number, nor is it possible to view or retrieve a client’s social security number in Administry.
Merging Clients
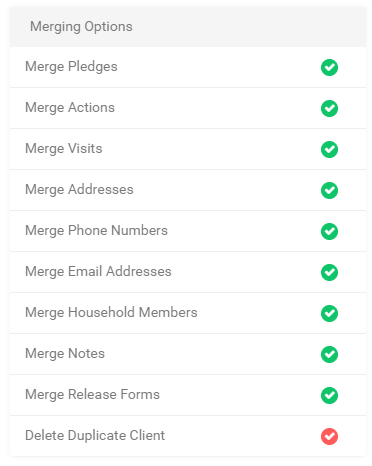
The Merge Tool allows users to combine client records that may have been duplicated in error. The tool can merge the following types of data:
- Pledges
- Actions
- Visits
- Household members
- Addresses
- Phone numbers
- Email addresses
- Confidentiality Release Forms
Note
Client demographic information (name, age, race, gender, etc) cannot be merged.
To Merge Clients:
- Log into Administry and search for the primary client record
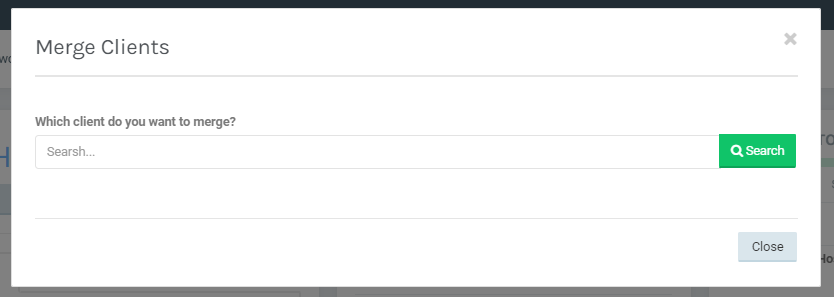
- Click on ‘Merge Another Client’ under the More dropdown menu below the client’s name
- Once the window loads, search for the duplicate client you wish to merge into the currently loaded client record. You can search by first name, last name, or client ID
- Click on Search to load clients matching search criteria
- Click on ‘Merge Options’ to review information to be merged into the current client record
- Click on the client you want to merge (be sure to check the client ID) and confirm your selection.
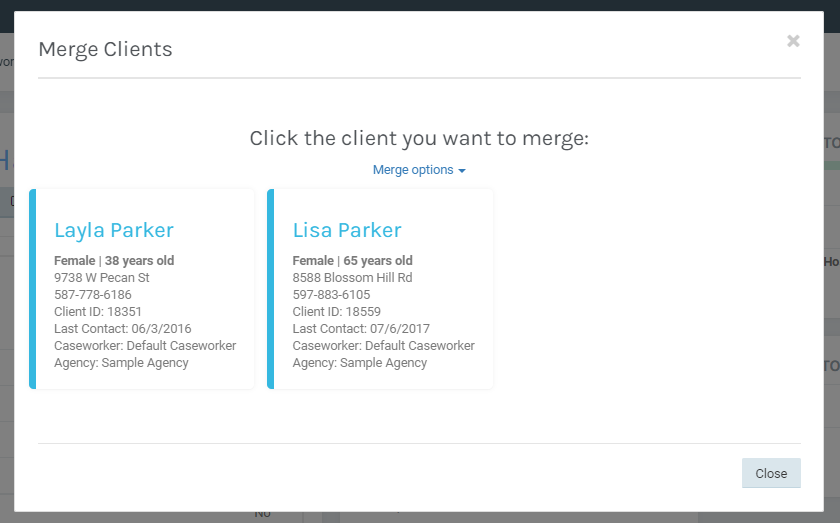
- Once the merge process finishes, the merged client data should appear in the current client’s dashboard. If the ‘Delete Duplicate Client’ option was checked, the duplicate client has been permanently deleted.
The merge tool also adds a note to the current client with details about what data was merged.