Fund Setup
Funds help you track your vendors by category. Funds can help you compare money spent on rent versus money spent on utility bills, for instance. Administry comes preloaded with several fund categories, and you can add or deactivate funds at any time. It is a good idea, however, to set them up before recording pledges.
Working with Funds
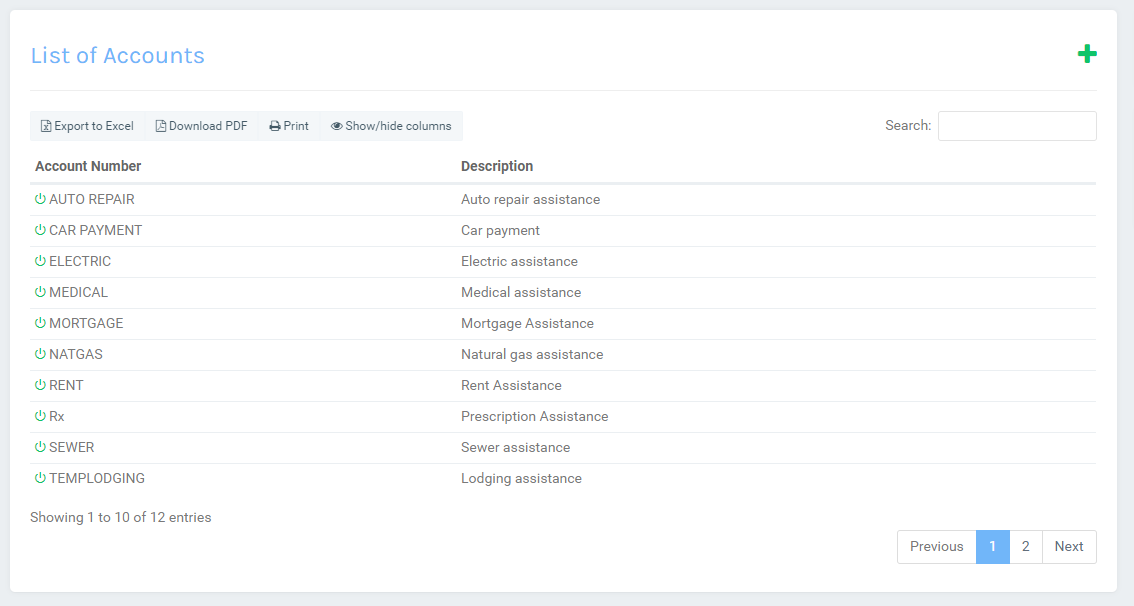
The Funds screen gives you a list of active and inactive funds, fund balance information, and more. To view the Funds screen, Administrators can select Funds under the Admin Menu. To edit a Fund Name or description, click on the row, and the fund’s details panel will appear on the right side of the screen. Click on Edit to make changes.
Note
The fund balance column shows the actual current fund balance. To view fund balances on a particular day, click on View transactions
View Fund Transactions
In Administry, a Fund Transaction is any financial debit or credit not attached to a pledge. (Transactions that are attached to pledges are called payments).
View Fund Transactions by clicking on Funds under the Admin menu. Then click on View Transactions for the fund you wish to view. This screen will display a combined list of all Fund Transactions as well as Payments (if the payment module is enabled) or Pledges (if the Payment module is not enabled).
- Once the page loads, set the date range at the top of the screen. Note that the end date will be used to calculate the fund balance that displays on the right side of the screen. (The start date is NOT used to calculate this figure.)
- Switch between funds with the dropdown next to the date range inputs.
- Fund Transactions and payments appear in the list. Fund Transactions and payments may be edited by clicking on the edit button for each row. Pledges cannot be edited.
- New fund transactions may be added by clicking the plus sign at the top of the Fund Transaction List. They may be recorded as debits (subtracted from the fund balance) or credits (added to the fund balance). Debits are shown in red, while credits are shown in green.
Add a Fund
- Under the Admin menu, select Funds to add new funds.
- At the top of the List of Funds list, click on the plus sign to add a new fund.
- Once the New Fund window loads, fill in the required information:
- Fund Name - this field is used to identify the fund and should be unique. Often this is a number that ties to an external accounting ledger kept by your agency or church.
- Fund Description - this field is used to explain what the fund is used for. For example, this could be “Utility assistance” to help other users know that this fund tracks pledges made to utility companies.
- Active? - this field determines whether or not this fund can be tied to new vendors and pledges. Setting this to “off” will not delete transactions made against this fund.
- Click Save and Close. Your new fund should appear in the List of Funds.
Every vendor must be assigned to a fund. See instruction for adding new vendors.